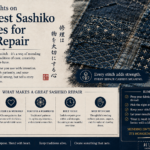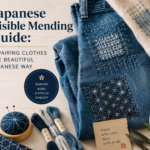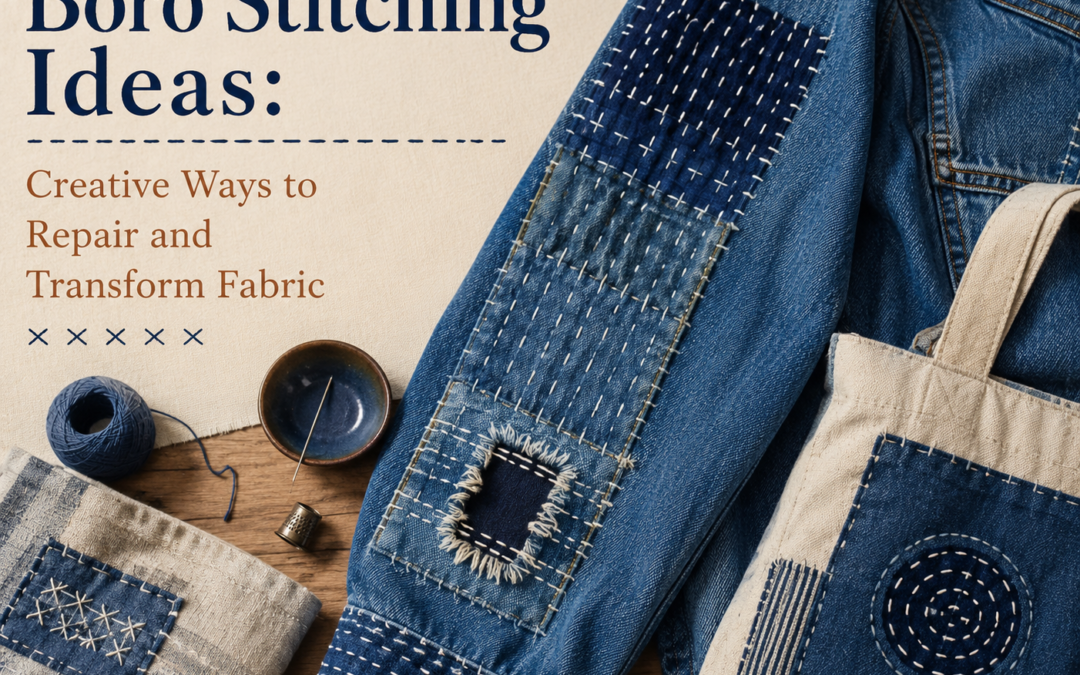
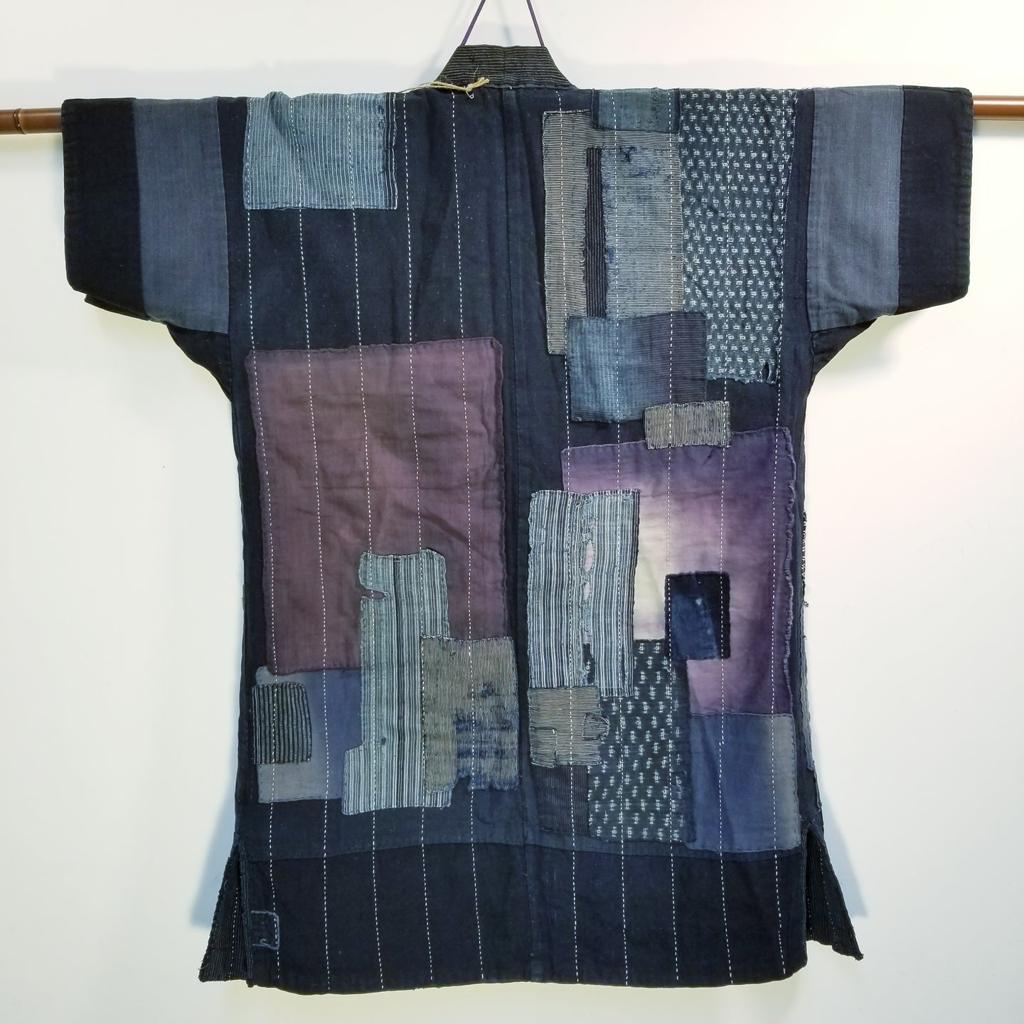
Boro is more than just sewing patches onto worn fabric. It is a centuries-old Japanese repair philosophy built on necessity, resilience, and beauty through imperfection. Originally practiced by rural families in Japan, boro allowed garments to survive generations through layers of repairs and reinforcement. Today, it has become one of the most admired textile arts in the world because it combines sustainability with creativity.
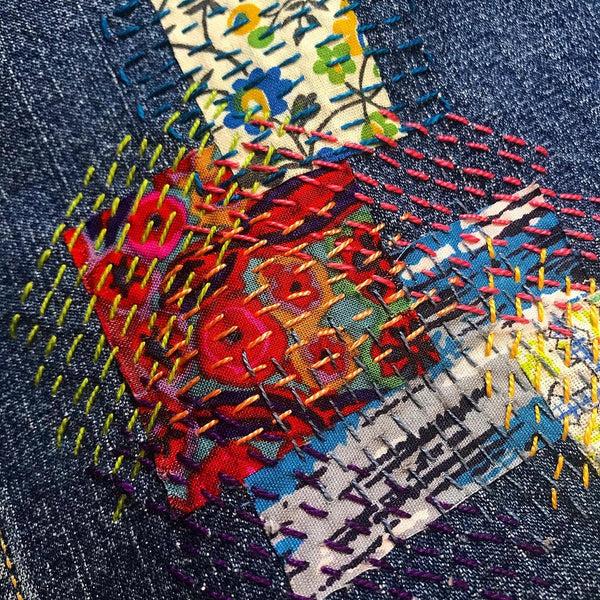
Modern crafters use boro stitching not only to repair but to transform clothing, bags, and household fabrics into artistic pieces. The visible nature of the stitches creates texture, character, and history in every project. Unlike invisible repairs, boro celebrates flaws.
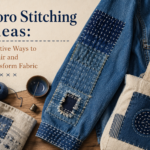
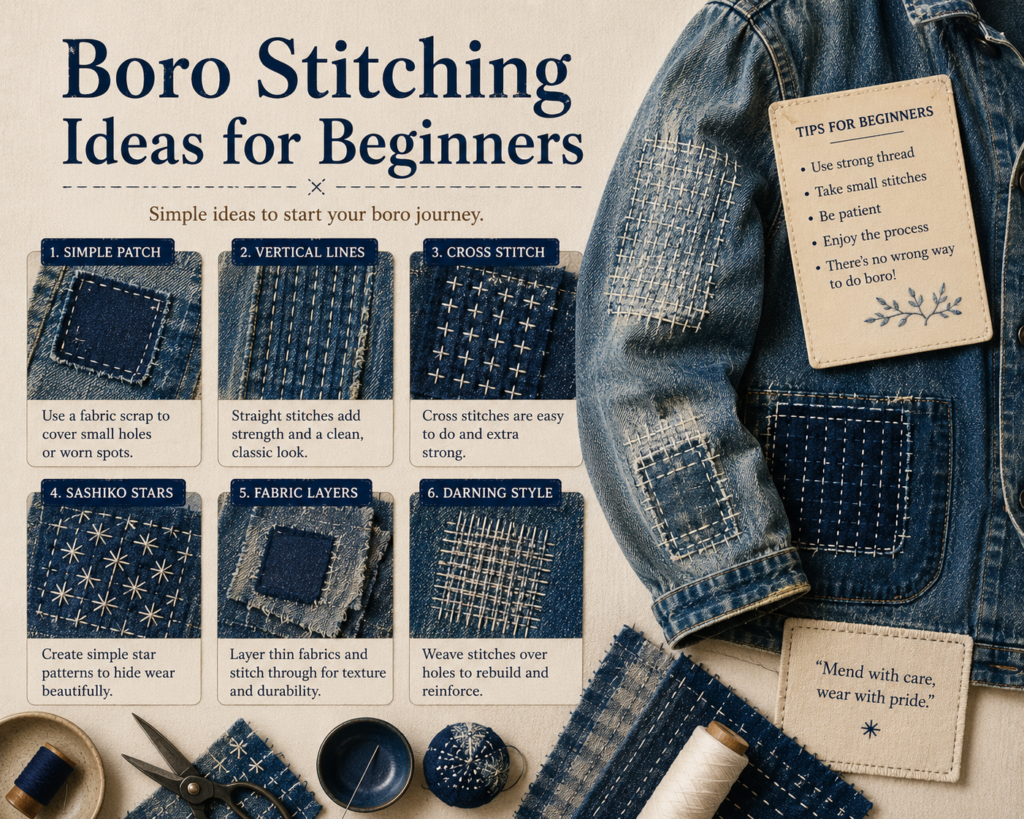
In this guide, you will discover practical and creative boro stitching ideas for clothing, accessories, and home décor.
What Is Boro Stitching and Why Is It So Popular?
Boro stitching originated in northern Japan during the Edo period, when fabric was expensive and families had to extend the life of garments. Rather than throwing worn clothes away, layers of fabric were stitched over weak areas using simple running stitches. Over time, garments developed beautiful layered textures and visible repair patterns.
Today, boro has become popular because people are rethinking waste. Fast fashion has created a culture of disposable clothing, but boro offers an alternative. It encourages repair, preservation, and personal creativity. Every patch tells a story, and every stitch represents intentional care.
Why people love boro:
- Sustainable clothing repair
- Unique handmade aesthetics
- Beginner-friendly stitching
- Low-cost upcycling
- Stronger fabric durability
- Creative self-expression
Boro is especially attractive because no two pieces are identical. Each repair becomes part of the fabric’s identity.
Essential Materials for Boro Stitching Projects
Starting boro stitching does not require expensive tools. In fact, many of the best projects begin with recycled materials from old clothes or leftover fabric scraps. The simplicity of the material list is one reason why beginners can start quickly.
The most important thing is choosing durable fabric and strong thread. Since boro is built around layering and reinforcement, fabric quality affects the longevity of the repair.
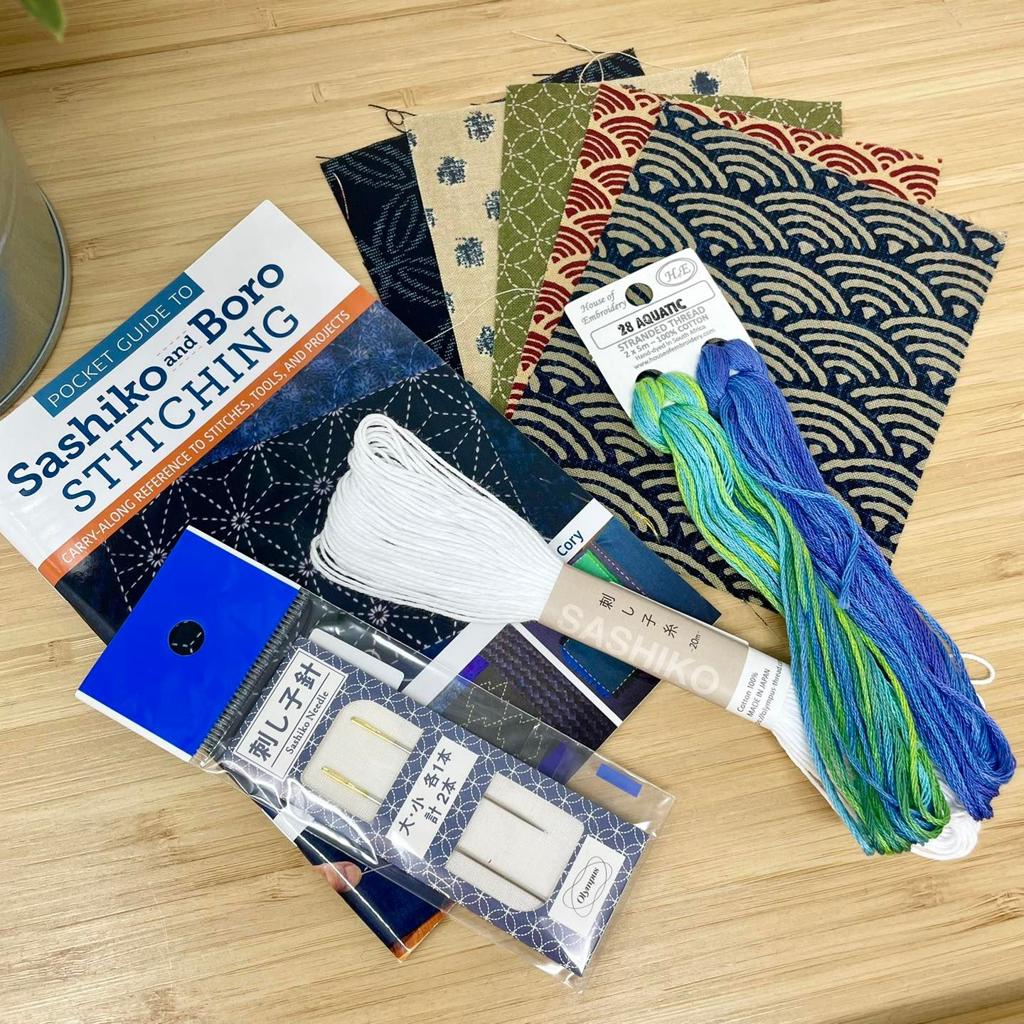
Essential materials:
- Fabric scraps (cotton, linen, denim)
- Sewing needles
- Sashiko thread
- Embroidery thread
- Fabric scissors
- Pins or clips
- Chalk marker
- Thimble
Good fabric combinations:
- Denim on denim
- Cotton on cotton
- Linen on cotton
- Indigo fabrics layered together
The stronger your materials, the longer your repair will last.
Choosing the Right Thread for Boro Stitching
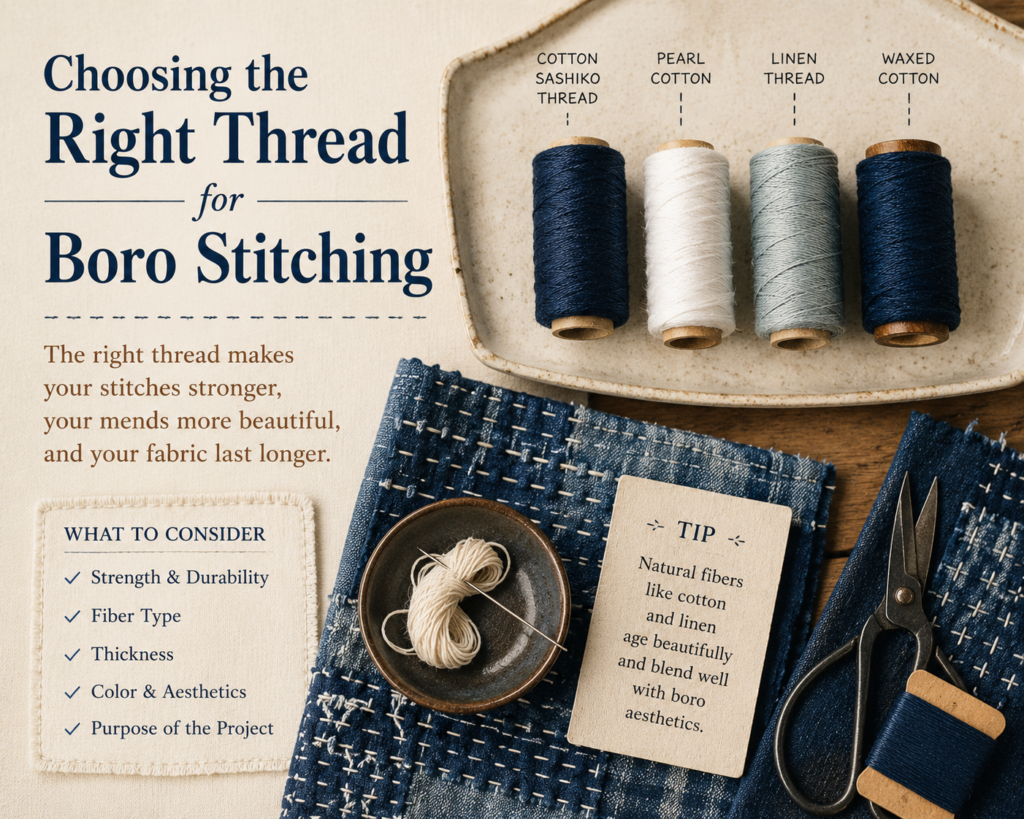
Sashiko Thread plays a major role in how durable and attractive your boro repair becomes. While many beginners start with standard sewing thread, thread thickness directly affects stitch visibility and fabric reinforcement. Thin thread blends into the fabric and works well for lightweight shirts, while thicker sashiko thread creates stronger visible patterns and better structural support for denim, canvas, and layered cotton.
The best thread depends on your goal. If your repair is functional, strength matters most. If your repair is decorative, texture and color become equally important. Cotton thread remains the safest choice because it moves naturally with fabric and handles washing better than many synthetic alternatives.
Best thread options:
- Sashiko thread for durability
- Embroidery floss for decoration
- Quilting thread for dense stitching
- Cotton thread for flexibility
- Heavy-duty thread for denim
Decision tip: thicker fabric needs thicker thread.
For more information on different threads, fabrics selection and needles, refer to our expert guide.
How Much Does a Boro Stitching Project Cost?
One of the biggest advantages of Boro is affordability. Unlike buying new clothes or investing in advanced sewing equipment, boro stitching can start with materials you already own. Old jeans, worn shirts, leftover denim, and fabric scraps can become repair material, reducing costs dramatically while keeping projects authentic.
For beginners, the cost usually stays low because the tools are simple and reusable. More advanced projects may involve specialty thread, vintage fabric, or larger patch collections, but even these remain relatively affordable compared to replacing quality garments.
Average project costs:
- Beginner setup: $10–$25
- Basic denim repair: $5–$15
- Jacket restoration: $20–$50
- Decorative patchwork project: $15–$40
- Quilt or large textile art: $40–$120
Using recycled clothing lowers project cost significantly.
Where Clothes Usually Need Boro Repairs
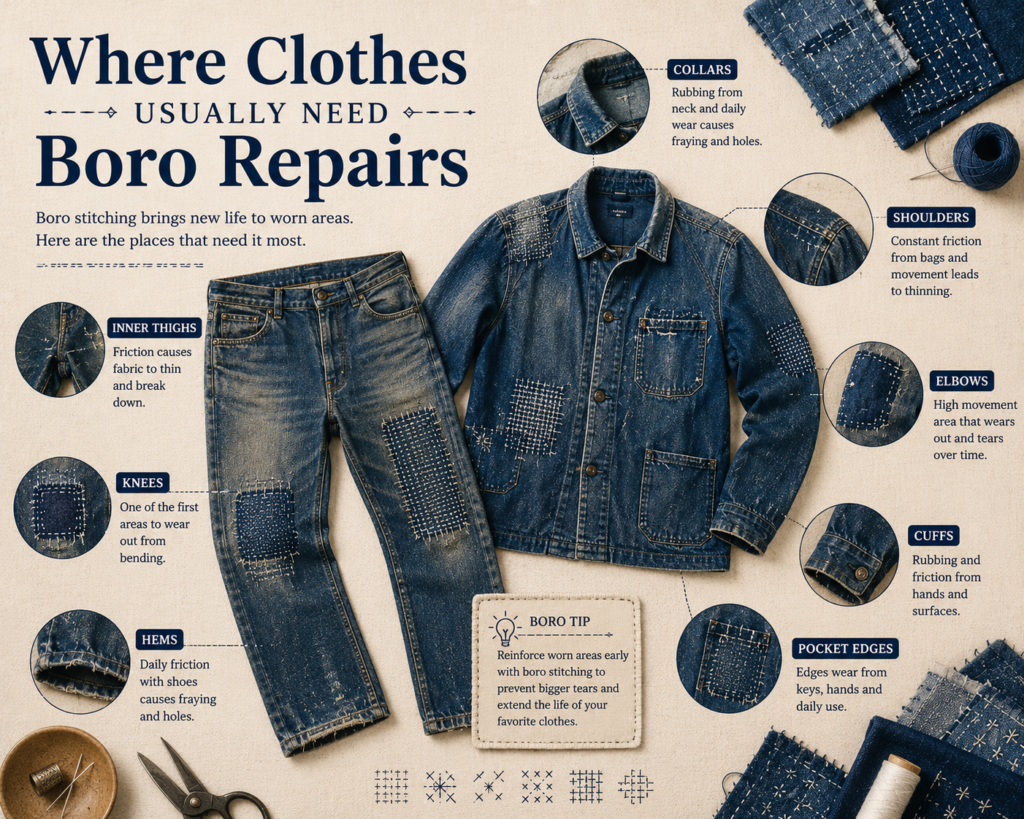
Understanding wear zones helps you plan better boro projects. Most clothing damage follows predictable friction patterns. Instead of waiting for complete holes, reinforcing weak spots early can prevent bigger repairs later. This proactive repair mindset follows traditional boro philosophy and extends clothing life significantly.
Different garments wear differently based on movement and pressure. Jeans suffer from bending and friction, jackets wear from movement and contact, and shirts weaken from repeated washing and stretching. Identifying these areas helps prioritize repairs.
Common repair zones:
Jeans:
- knees
- inner thighs
- pocket corners
Shirts:
- collars
- elbows
- underarms
Jackets:
- cuffs
- shoulders
- elbows
Bags:
- handles
- corners
- bottom seams
Early reinforcement prevents major damage.
Boro Stitching Ideas for Jeans
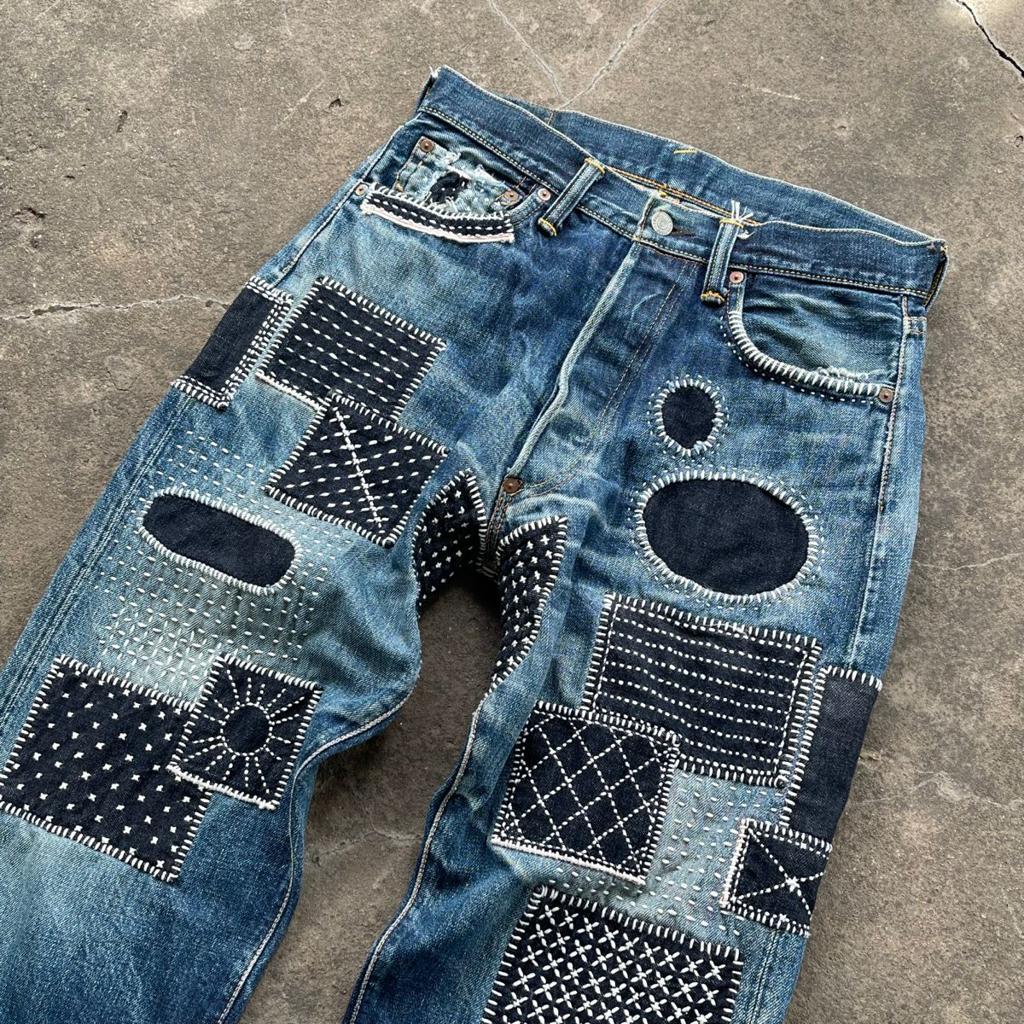
Jeans are one of the best starting points for boro stitching because denim is strong, forgiving, and naturally suited for layered repairs. Worn knees, ripped thighs, and damaged pockets can all be transformed into artistic repair areas.
Boro-repaired jeans often become better-looking than new jeans because the patchwork adds personality and texture. Indigo denim also aligns perfectly with traditional boro aesthetics.
Creative jeans repair ideas:
- Knee patch reinforcement
- Decorative thigh patchwork
- Back pocket corner repair
- Hemline strengthening
- Seat reinforcement
- Pocket edge patching
A practical tip: place patches on the inside for a smoother surface or outside for bold visible patchwork.
Jeans are the perfect beginner project because mistakes blend naturally into the rugged texture.
Have a read of our complete beginners guide on how to repair jeans with boro stitching for an easy walkthrough of the whole process.
How to Wash Clothes with Boro Stitching
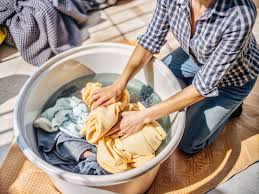
Washing repaired garments incorrectly can weaken stitches and shorten the life of your boro work. Because boro involves layered fabrics and exposed thread, it requires slightly more care than standard clothing. Proper washing protects both the patchwork and the stitch tension.
The best cleaning method depends on the garment and how heavily repaired it is. Small repairs usually survive machine washing, but larger patchwork sections benefit from gentler care. Drying methods also matter because heat can shrink fabric unevenly and create tension around stitched areas.
Best washing practices:
- Wash inside out
- Use cold water
- Gentle cycle
- Mild detergent
- Avoid bleach
- Air dry when possible
Avoid:
- high heat drying
- aggressive spin cycles
- over-washing
Less washing extends repair life.
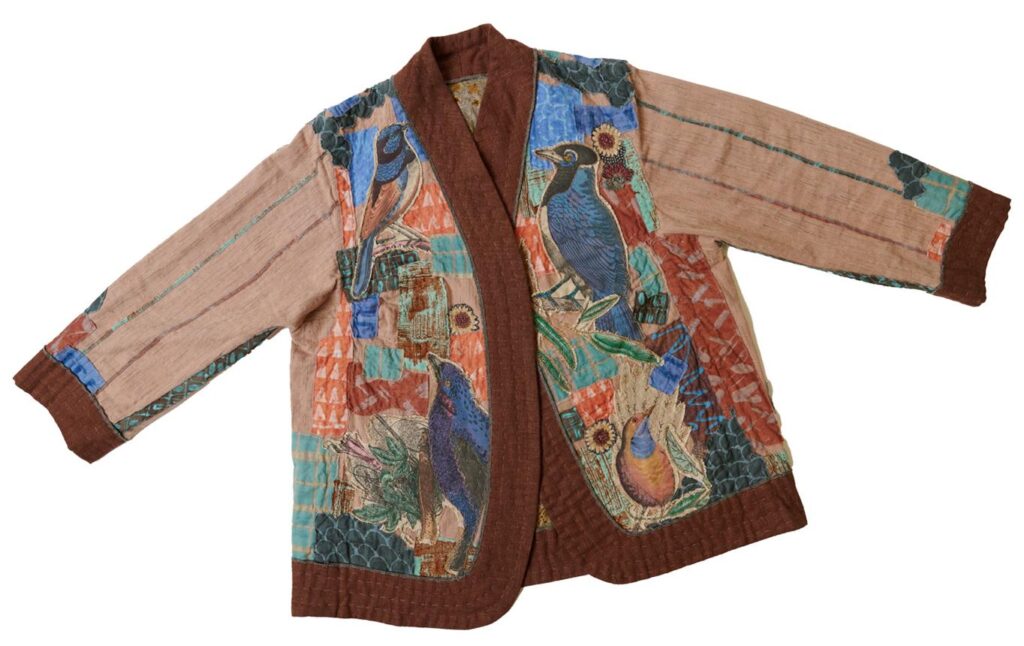
Boro Stitching Ideas for Jackets
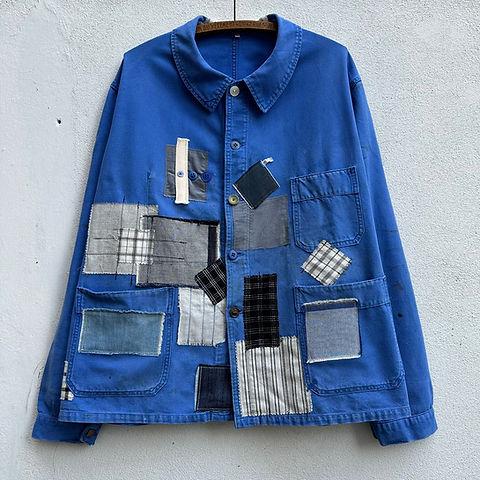
Jackets provide large surfaces for creative boro work. Unlike jeans, jackets allow decorative patching across bigger areas like backs, sleeves, and shoulders. This creates opportunities for expressive designs.
Elbows are common wear points and ideal for reinforcement. Large back panels can also become patchwork art displays using mixed indigo shades.
Popular jacket ideas:
- Elbow patch reinforcement
- Shoulder repairs
- Collar repairs
- Sleeve patch layering
- Decorative back patchwork
- Pocket flap reinforcement
A jacket with boro stitching feels personalized. Instead of hiding wear, you highlight it.
This makes jackets ideal for combining function and visual impact.
Before and After Boro Repair Transformations
One of the most satisfying parts of boro stitching is transformation. A damaged garment that feels unusable can become stronger, more beautiful, and more valuable after repair. This transformation is what makes visible mending emotionally rewarding. Instead of hiding damage, you create character.
Many experienced boro artists intentionally collect worn clothing because natural wear patterns create the best repair opportunities. The before-and-after contrast often makes repaired pieces feel more personal than factory-made clothing.
Common transformations:
Before:
- ripped knees
- torn elbows
- weak seams
- worn corners
After:
- reinforced structure
- stronger wear zones
- layered texture
- handmade aesthetic appeal
Good repair adds both beauty and lifespan.
Boro Stitching Ideas for Shirts and T-Shirts
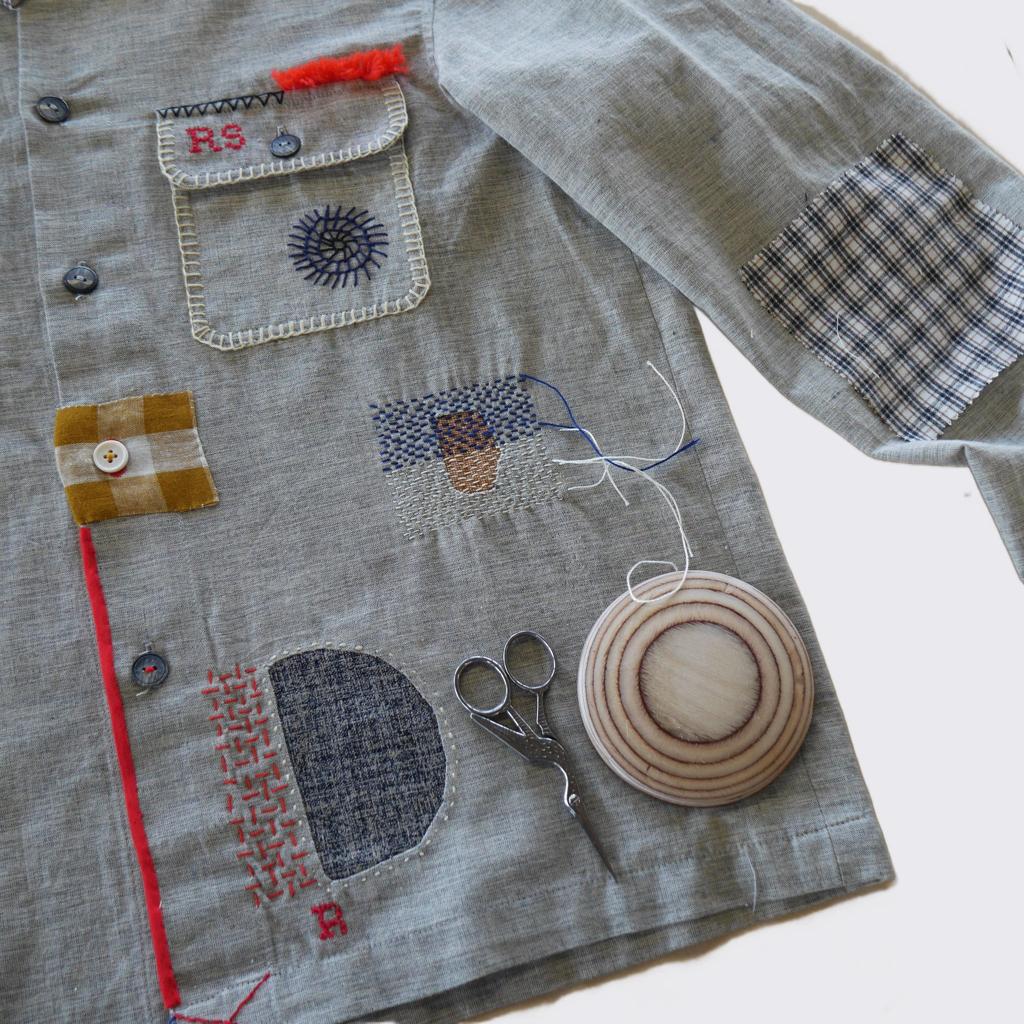
Shirts and t-shirts often wear out at the collar, sleeves, and side seams. These thinner fabrics can still be repaired beautifully with boro, but patch selection matters more.
Use lighter fabrics for lightweight shirts and stronger patches for thicker work shirts. Layering too heavily can affect comfort.
Creative shirt repair ideas:
- Collar reinforcement
- Sleeve hole repair
- Elbow patches
- Chest pocket accents
- Shoulder reinforcement
- Side seam repair
Decorative boro on shirts can also be intentional rather than functional. Adding patchwork accents creates unique styling without waiting for damage.
This approach turns ordinary shirts into one-of-a-kind garments.
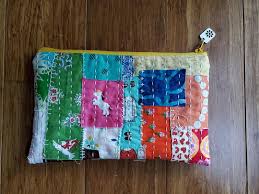
Boro Stitching Ideas for Bags and Tote Bags
Bags experience heavy daily stress, especially around handles, corners, and bottom seams. Boro stitching can extend bag life significantly while adding character.
Tote bags are particularly good for boro because their flat surfaces make stitching easier. Heavier canvas and denim also hold patches well.
Bag repair ideas:
- Handle reinforcement
- Corner patching
- Bottom panel strengthening
- Pocket edge repair
- Decorative front panel patchwork
- Strap attachment reinforcement
Because bags receive frequent use, strong stitching and durable thread are important.
A repaired bag often becomes stronger than the original.
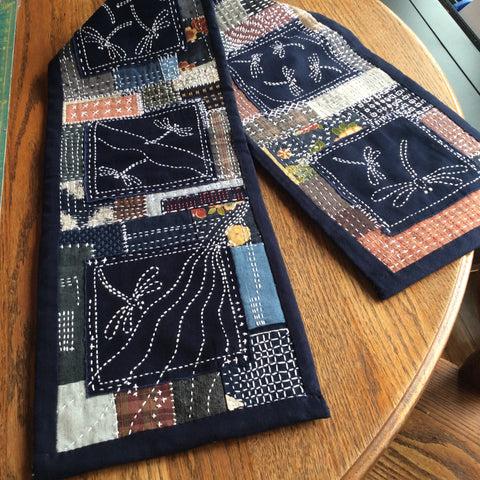
Boro Stitching Ideas for Home Décor
Boro is not limited to clothing. Home décor projects are one of the most creative ways to use boro stitching because they allow full artistic freedom.
Unlike wearable items, home textiles can handle heavier layering and more decorative stitching. This gives you freedom to experiment.
Popular home décor projects:
- Cushion covers
- Quilts
- Table runners
- Wall art
- Placemats
- Fabric baskets
Home décor boro lets you preserve sentimental fabrics like old shirts or family textiles.
This transforms memory into function.
Boro Stitching Ideas for Beginners
Beginners should start small. Large patchwork designs can feel overwhelming, but simple repairs build confidence and skill.
The easiest way to learn is by practicing straight running stitches on scrap fabric. Once you feel comfortable, start on simple repairs.
Best beginner projects:
- Small denim tears
- Pocket corner repairs
- Simple square patches
- Tote bag reinforcement
- Cushion patching
- Basic patch layering
Beginner tips:
- Keep stitches even
- Start with strong fabric
- Use contrasting thread for visibility
- Secure patch corners well
Simple repairs teach the foundation of all boro work.
Boro Stitching Project Difficulty Levels
Not all boro projects require the same skill level. Some repairs are simple and beginner-friendly, while others involve advanced layering, planning, and stitch consistency. Understanding difficulty levels helps prevent frustration and improves project success.
Starting with smaller repairs builds hand control and stitch rhythm. Larger projects like jackets or quilts require better planning and stronger understanding of fabric behavior. Choosing the right difficulty level makes learning smoother.
Beginner:
- small tears
- pocket reinforcement
- tote bag corners
Intermediate:
- knee rebuilds
- elbow repairs
- shirt patch layering
Advanced:
- jacket panel restoration
- large patchwork quilts
- decorative textile artwork
Start simple and scale gradually
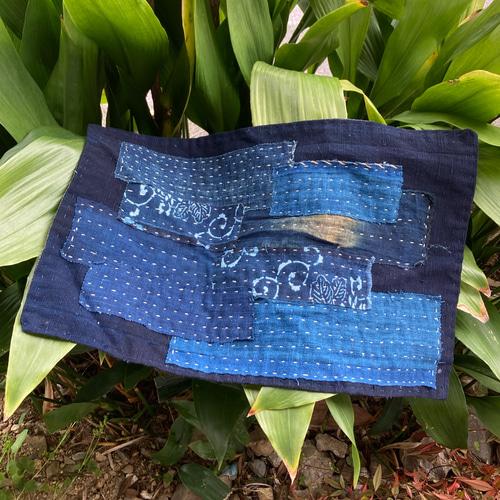
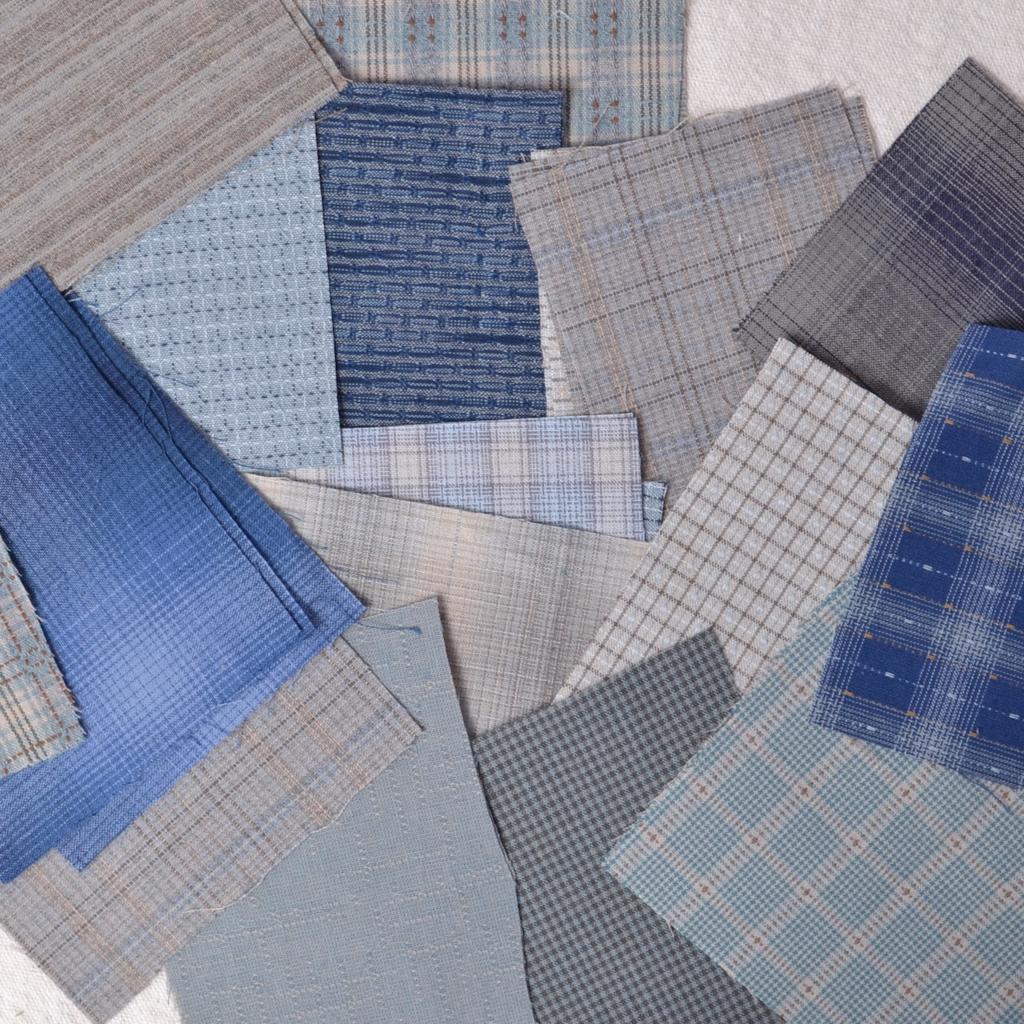
Best Color Combinations for Boro Stitching
Color selection affects how authentic and visually balanced your boro work feels. Traditional Japanese Indigo Dye created naturally layered blue tones, which became one of boro’s signature aesthetics. Modern makers can expand beyond indigo, but color harmony still matters.
The strongest boro designs usually combine similar tones with subtle contrast. High contrast creates bold visual impact, while low contrast creates traditional softness. Choosing colors intentionally improves the final appearance.
Traditional combinations:
- indigo + white
- navy + faded blue
- blue + grey
Modern combinations:
- black + charcoal
- brown + beige
- olive + cream
Use texture variation even when colors are similar.
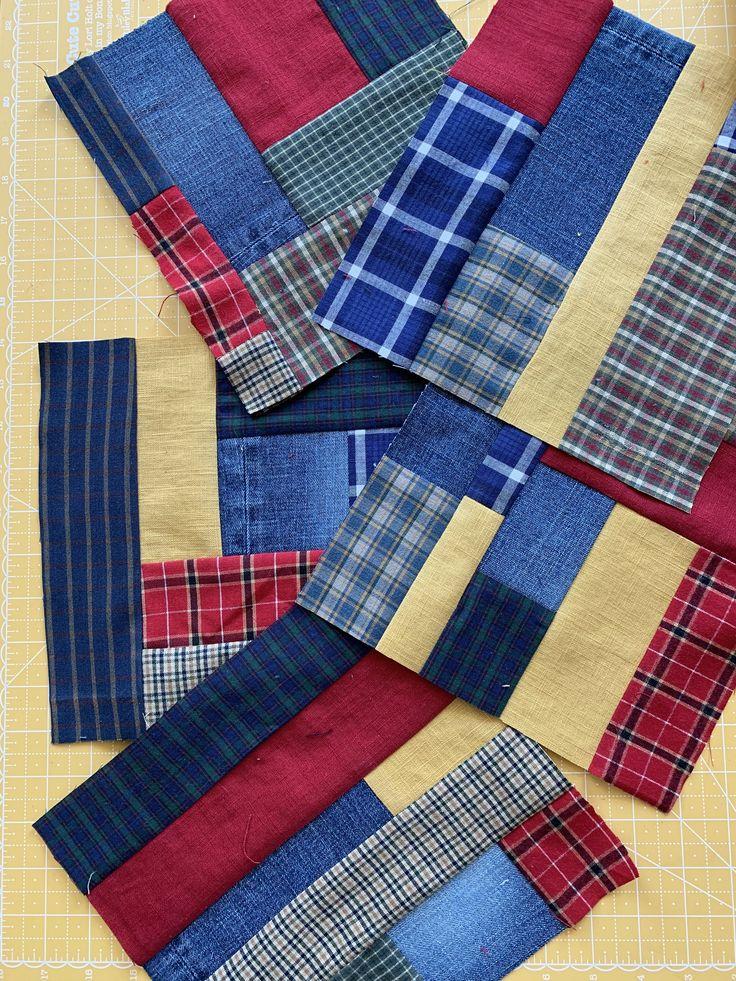
Creative Decorative Boro Stitching Ideas
Not all boro stitching needs to be repair-based. Decorative boro is growing in popularity because it blends textile art with fashion.
Many artists create patchwork compositions using layered fabrics and visible stitches without any damage underneath. This opens endless design possibilities.
Decorative ideas:
- Geometric patchwork
- Abstract fabric layering
- Color-gradient patching
- Mixed textile collage
- Intentional distress styling
- Contrast-thread patterns
Decorative boro works especially well on jackets, tote bags, and wall hangings.
It allows complete freedom while preserving traditional technique.
How to Choose Fabric for Boro Projects
Fabric choice affects the strength, appearance, and authenticity of your boro work. Traditional boro relied heavily on indigo-dyed cotton, but modern projects can use many materials.
The key rule is matching fabric weight. Heavy patches on thin fabric can create stress.
Best fabric options:
- Denim
- Cotton
- Linen
- Canvas
- Hemp
- Vintage fabrics
Avoid:
- Stretch fabric
- Silk
- Weak synthetic blends
The better the match, the better the repair performance.
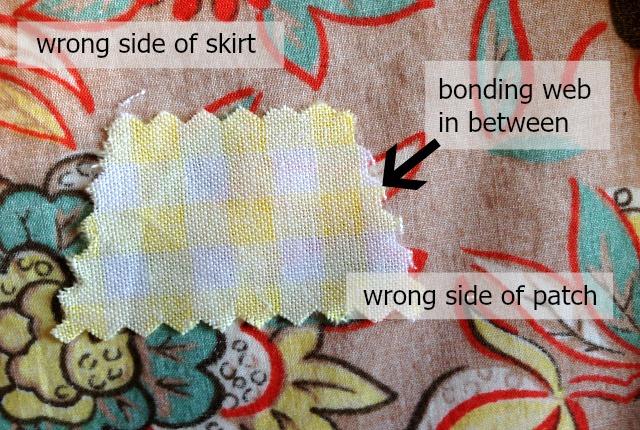
How to Layer Fabric in Boro Stitching Properly
Layering is the structural foundation of strong boro stitching. Many beginners focus on patch placement but overlook how layers affect durability. Traditional boro often used multiple layers because the goal was not just covering holes—it was rebuilding strength into the textile itself. The order of layering matters because each layer supports the next.
A smart layering strategy starts with stabilizing weak fabric, then reinforcing the damaged area, and finally adding visible decorative reinforcement. Too many layers can make fabric stiff, while too few layers can fail under stress. Finding balance is essential.
Basic layering structure:
- Base fabric (original garment)
- Repair patch (covers damage)
- Reinforcement patch (adds strength)
- Decorative top patch (optional aesthetic layer)
Use 2 layers for small tears.
Use 3 layers for high-stress areas.
Avoid 4+ layers on lightweight fabric.
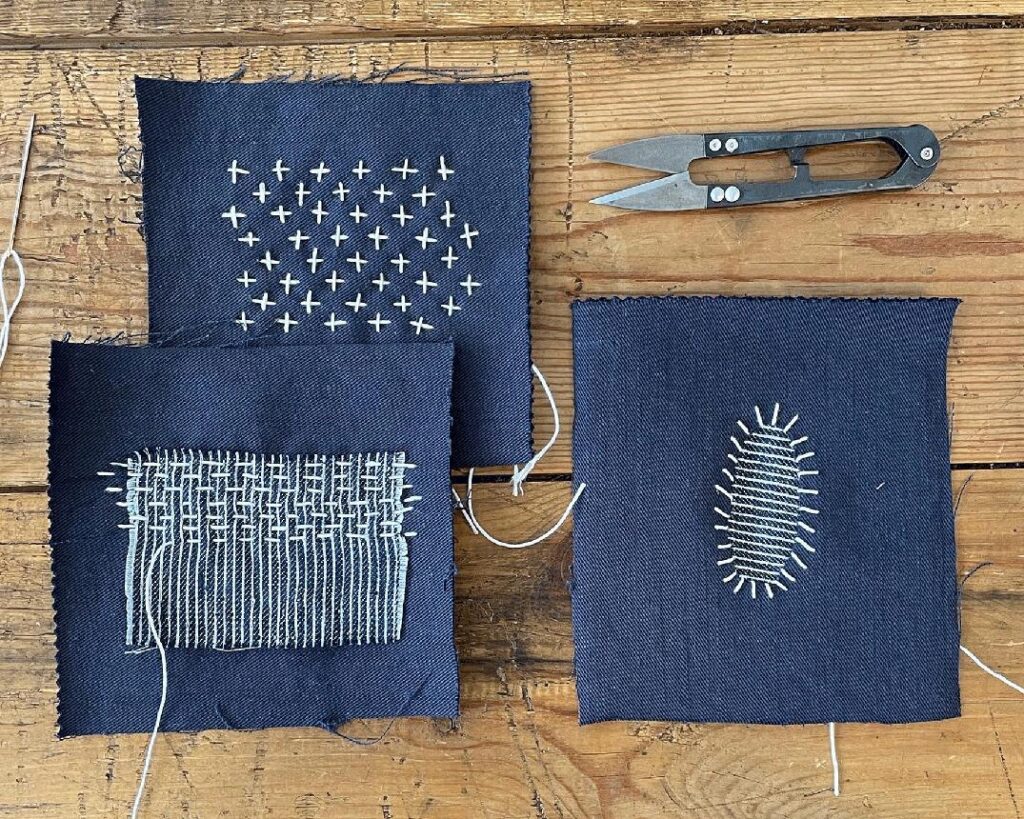
Best Stitch Patterns for Boro Designs
The running stitch is the foundation of boro, but variations can create different textures and reinforcement strengths.
Stitch patterns influence both durability and visual identity. Dense stitching increases strength, while wider spacing creates softer movement.
Popular stitch patterns:
- Straight running stitch
- Grid stitching
- Cross stitching
- Wave patterns
- Parallel lines
- Random reinforcement stitching
Beginners should focus on consistency rather than complexity.
Good stitches matter more than fancy patterns.
Looking to become an expert on different boro stitching patterns, go to our easy step-by-step guide for a beginner’s friendly explanation.
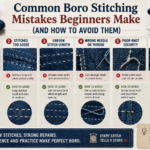
Common Mistakes in Boro Stitching
Boro is forgiving, but some mistakes can weaken repairs or make projects uncomfortable.
One common mistake is using weak patches on damaged fabric. Another is poor stitch tension, which causes puckering.
Avoid these mistakes:
- Using weak fabric
- Uneven thread tension
- Too few stitches
- Poor patch placement
- Skipping corner reinforcement
- Over-layering thin fabrics
Good preparation prevents most issues.
Take time before stitching.
When Boro Stitching Is Not the Best Repair Option
Although Visible Mending is highly effective, not every damaged garment can be saved with boro. Some fabrics are too weak or structurally compromised to hold reinforcement. Knowing when not to repair prevents wasted time and poor results.
Fabric that has become brittle, rotted, or overstretched often lacks the structural strength needed for stitching. In these cases, replacing the fabric section entirely may be a better option than patching.
Avoid boro when:
- fabric tears easily by hand
- seams are structurally broken
- stretch fabric has lost elasticity
- synthetic fabric is melting or thinning
- damage is too widespread
Strong repair starts with a stable foundation.
How to Make Your Boro Stitching Look Authentic
Authentic boro has an organic, imperfect appearance. It should look practical, layered, and lived-in rather than overly planned.
Traditional boro used necessity-driven patch placement, creating irregular but beautiful structures.
To create authenticity:
- Use indigo fabrics
- Layer naturally
- Keep visible stitches
- Allow asymmetry
- Mix old fabric textures
- Avoid over-designing
Authenticity comes from practical beauty.
Imperfection is part of the charm.
Boro Stitching vs Sashiko: What’s the Difference?
People often confuse boro and sashiko, but they are different. Boro refers to layered patchwork repairs, while sashiko refers to the stitching technique used for reinforcement.
Think of it this way: boro is the repaired textile result, and sashiko is often the method used to create it.
Key differences:
- Boro = patchwork philosophy
- Sashiko = stitching method
- Boro focuses on layering
- Sashiko focuses on stitch design
Understanding the difference improves project planning.
Many projects combine both.
How Long Does Boro Stitching Last?
The lifespan of a boro repair depends on fabric quality, stitch density, and how the garment is used. A properly stitched repair can outlast the original damaged area because reinforcement adds strength where weakness existed.
High-friction zones like knees and elbows wear faster than decorative patches on low-stress areas. Maintenance and washing habits also directly affect longevity. Good repairs improve over time because the fabric softens and settles naturally.
Average repair lifespan:
- light wear: 6–12 months
- moderate wear: 1–3 years
- heavy denim repair: 3–5 years
- layered reinforcement: 5+ years
Longer lifespan depends on:
- strong fabric
- tight stitching
- fewer washes
- good maintenance
Well-made boro ages beautifully
Sustainable Fashion Through Boro Stitching
Boro stitching supports sustainable fashion by extending garment life and reducing waste. Instead of replacing damaged clothing, you repair and strengthen it.
This reduces textile waste and lowers the demand for new manufacturing.
Sustainability benefits:
- Less waste
- Longer garment lifespan
- Lower fashion consumption
- Personal attachment to clothing
- Reduced environmental impact
Boro encourages slower, more thoughtful consumption.
That makes it powerful beyond aesthetics.
Where to Find Inspiration for New Boro Stitching Ideas
Finding inspiration helps keep your projects fresh. Traditional Japanese textiles offer endless examples of layering and repair strategy.
Modern fashion also provides new interpretations of boro aesthetics.
Best inspiration sources:
- Vintage Japanese garments
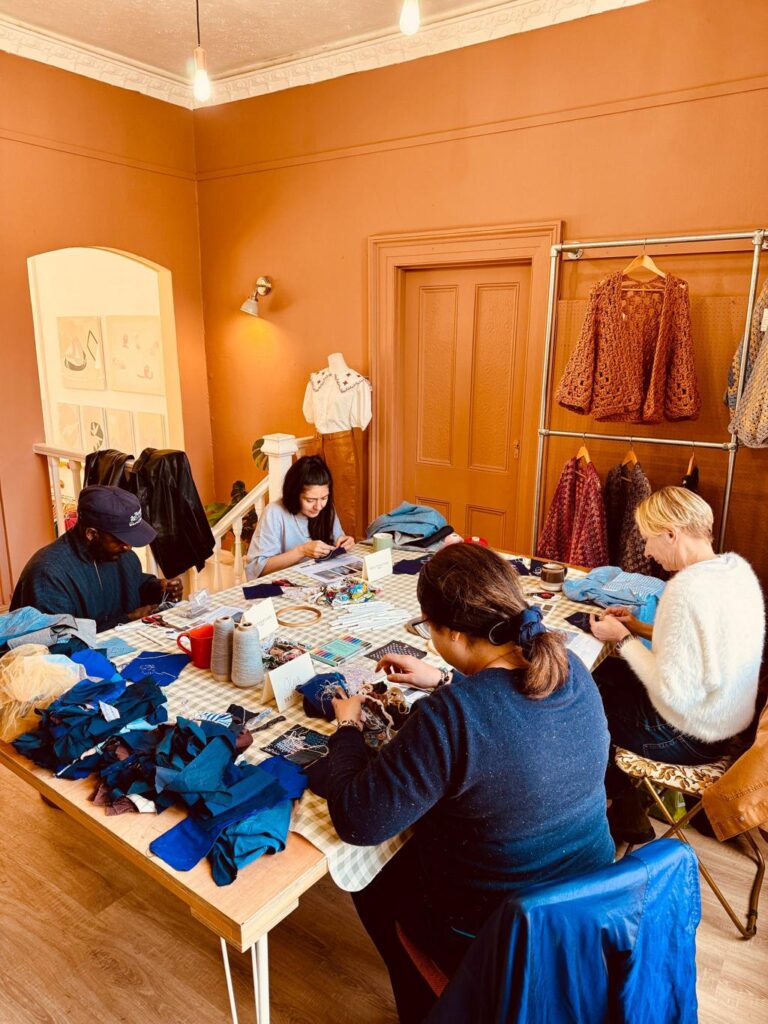
- Handmade repair communities
- Textile museums
- Fashion archives
- Upcycling blogs
- Visible mending communities
Study old repairs. They often teach more than tutorials.
The best boro ideas come from observing wear itself.
Frequently Asked Questions About Boro Stitching Ideas
Can beginners do boro stitching?
Yes. Start with small repairs and basic running stitches.
What fabric is best for boro?
Cotton, denim, and linen work best.
Is boro the same as sashiko?
No. Boro is patchwork repair, sashiko is stitching.
Can boro be decorative only?
Yes. Many people create decorative patchwork without repairs.
How long does a boro repair last?
A strong repair can last for years depending on wear.
Can I use old clothes for patches?
Yes. Recycled clothing is one of the best sources for authentic boro fabric.